Monday, October 19, 2015
Sunday, October 18, 2015
Friday, October 2, 2015
Siding, Part 1
Joe and his various helpers have been making great progress on the siding. The first part of the process was to install the furring strips on top of the exterior insulation, followed by the individual pieces of siding. The corners are mitered and covered with individual metal corners, which is a fairly labor intensive process, but I think the end result is going to look really, really good.
| View of the furring strips (taken from upper deck of 'big' house) |
| North wall |
| West wall |
| View of entrance and south wall |
| Siding is about halfway done! |
| View of east and south walls |
| Ground level view of siding. You can see the belly band in place at the level of the door. |
Drywall, Taped and Primed
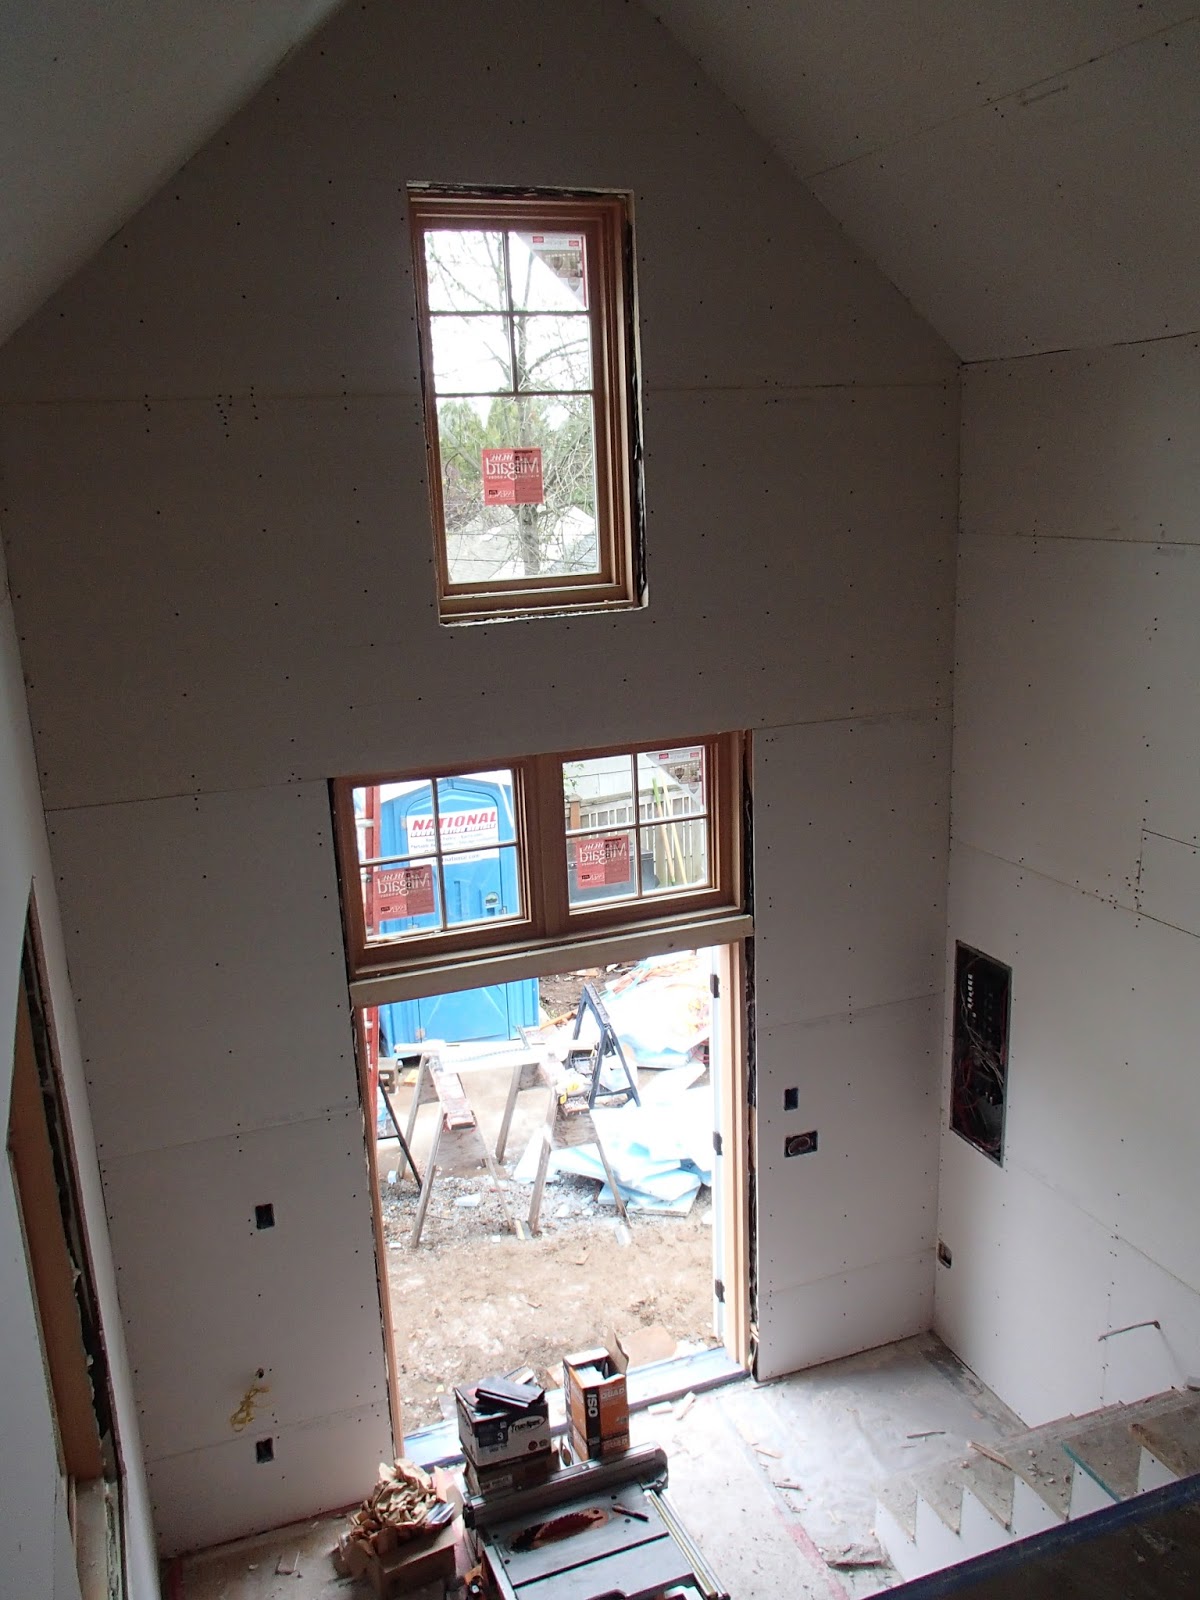
The drywall hangers worked very quickly and applied three coats of mud over the course of five days. We used a heater, a dehumidifier, and two oscillating fans to dry out the mud over night between coats. The primed walls look fantastic, and once the siding is up, Joe will move inside and start on the interior trim.
| Looking west from the loft. |
| Closet corner |
| Office nook. |
| Primed interior, looking east from just inside the front door. |
| Looking west from the loft. |
| Closet |
| Looking SW from the loft. |
| West from the loft. |
| West from the kitchen. |
Monday, September 21, 2015
Drywall
Last week the drywall went in--in one day! The first taping and mudding session is happening today.
The addition of the drywall has really transformed the appearance of the cottage. It is much easier to envision the finished interior at this point.
| Kitchen/dining area |
| Bathroom. The square in the wall is Amy's 'nook'. |
| View of the loft from the stairs |
| Looking west from loft |
| 'Office nook' in the loft |
| Skylight |
| Looking east from just inside the front door |
Insulation
Interior and exterior insulation is in! We had two separate interior installation sessions, the first was for spray foam to seal the roof, and the second was for the more traditional batts between the framing. The exterior of the house is also insulated, with 1.5" rigid foam. (Unfortunately I did not get a shot of the spray foam before it was covered with the batts, but it's there!)
This cottage is going to be toasty warm in the winter and cool as a cucumber in the summer.
| Looking west from the loft |
| Looking northwest from the loft |
| The ceiling |
| Exterior insulation. The top bits were attached the day after I took this photo. |
| Matt brought one of his CAST Architects signs to spread the word |
Thursday, September 10, 2015
Windows & Stairs
Yesterday Joe and his helpers installed the doors and all but three of the windows. They look great, and the cottage is starting to feel like it will be finished soon.
Joe also framed the stairs this week. The stair treads are OSB for the time being, but after the majority of construction is finished he will replace the treads with clean fir. The idea is to minimize the potential for damage to the treads while workers are moving up and down from the loft. Eventually the stairs will be framed in and a door will be installed to provide a closet for coats and storage.
| Exterior view of bathroom window |
| Front door, living room window, and kitchen window |
| Interior view of kitchen window |
| Dining nook window |
| Living room window. This window is BIG. |
Subscribe to:
Posts (Atom)