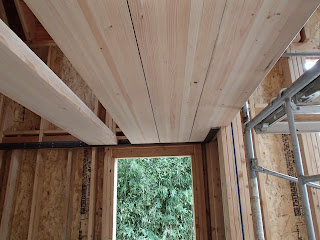
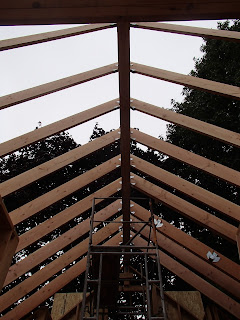
The loft is fully installed! This is one of the more unorthodox elements of the cottage--it is constructed from glue lam beams, and it's turned out to be pretty tricky. The glue lams attach to the walls on angle iron. After Joe installed the first couple of beams, he noticed a significant amount of deflection (i.e., the beams were flexing, a LOT, about 2-3"). Glue lams are supposed to be installed edge-on, and our loft is using them as planks, which caused the deflection on the longest spans. Initially, Joe thought this would be a deal breaker, but then he figured he could dowel them together and use a strong adhesive to create what is effectively a single slab of glue lam. And it worked! The other wrinkle is that glue-lams come with a chamfer, which Joe and his helper had to remove by ripping all of the beams through a table saw. We will also have to have the entire thing sanded down and finished, and install some sort of tile/metal/other barrier above the shower to prevent the steam and moisture from rotting the floor.
Not sure if I would endorse this approach again knowing what I know now, but the end result looks really cool.
 |
| The first few beams after installation, when the deflection issue first came to light |
 |
| Another view of the first few beams |
 |
| This is what the glue lams look like edge-on (these have had their chamfer removed) |
 |
| The completed loft! The black material over the windows is the exterior moisture barrier, which Joe put up in anticipation of the big storm we got over the weekend. |
 |
| View from the loft, looking out the front door |
 |
| Looking at the south saddlebag (above the kitchen) |
 |
| Looking at the north saddlebag (above bathroom) |
 |
| Below the loft, looking towards the bathroom from the dining area |


